Marklin BR 128 LED conversion with 21MTC decoder and lighting tweaks.
Winter is usually when I spend more time at the workbench with model trains. During the Covid evening-curfew period that season effectively got longer, so I used the extra time to do a proper locomotive electronics upgrade: LED improvements plus an ESU LokPilot setup.
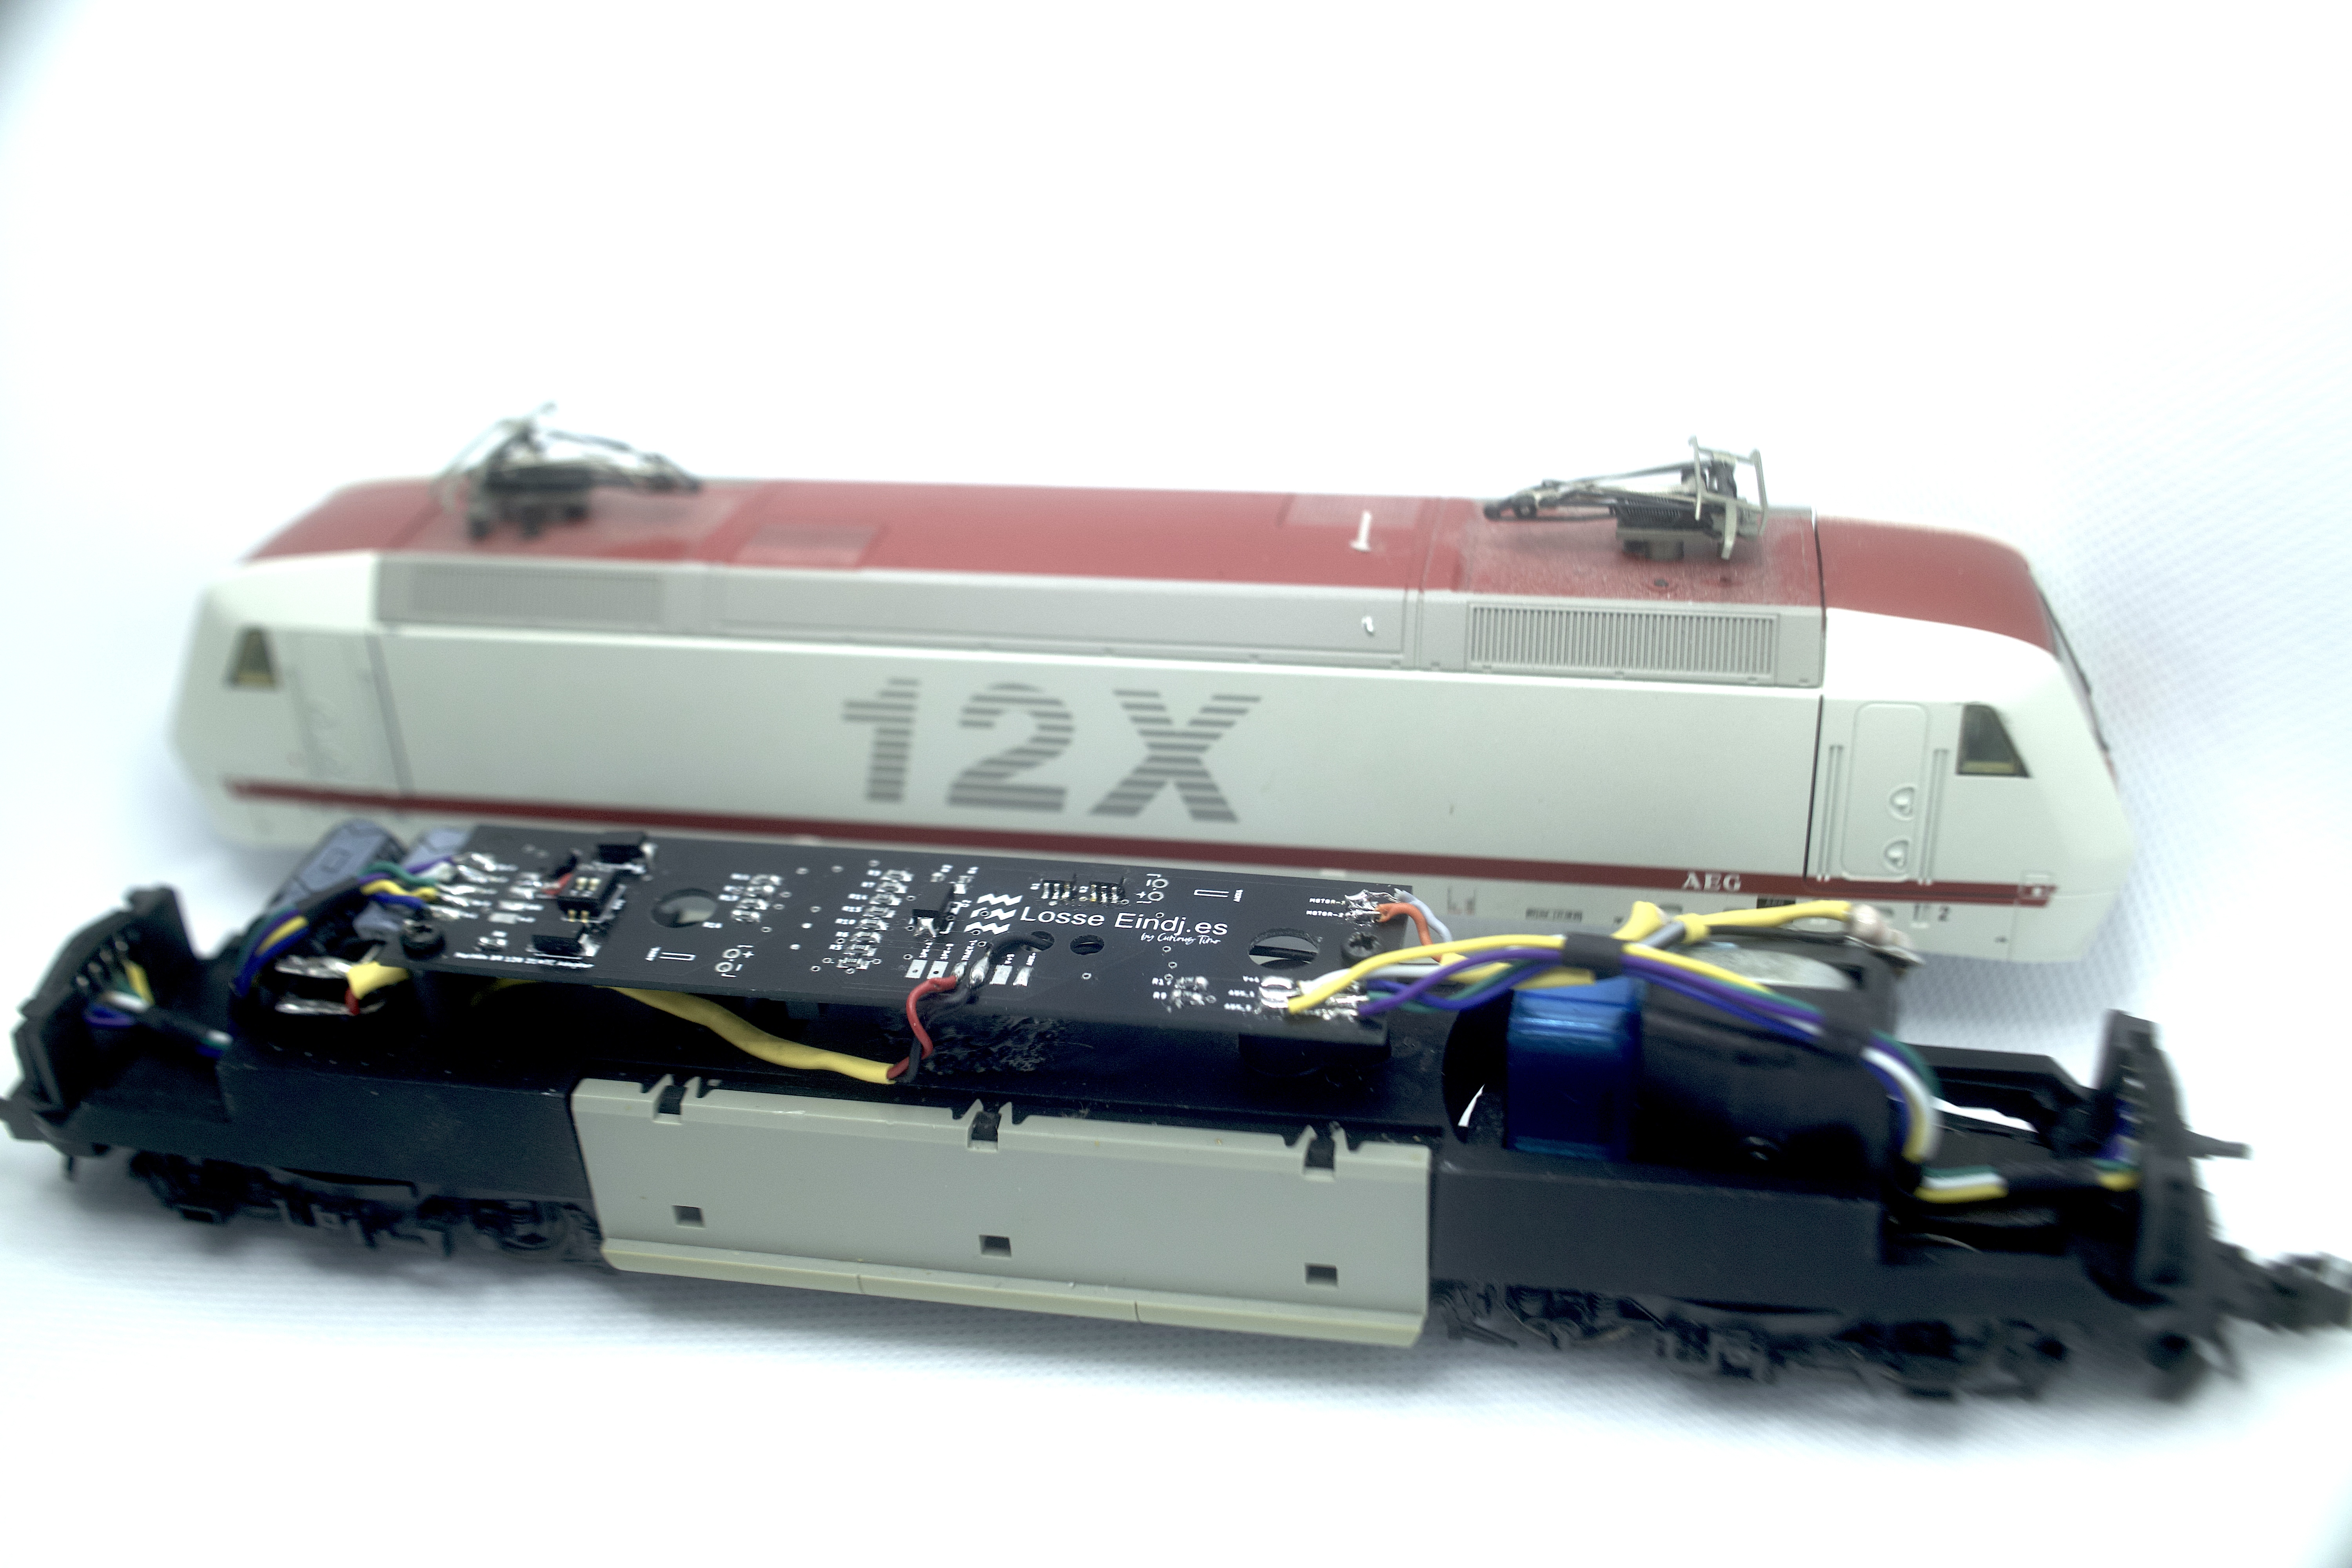
The first locomotive on the bench was my Märklin BR 128.
Project scope
From factory configuration, this model already has LED lighting, but I wanted more realistic operation and cleaner control options.
The conversion goals were:
- install a new 21MTC adapter PCB
- add dedicated high-beam lighting
- add shunting-light functionality
- improve electrical stability with onboard buffering
- keep the install mechanically clean and serviceable
Electronics work
I designed custom PCBs in Eagle CAD and had them manufactured by JLCPCB.
Because the boards use SMD components, I assembled them with solder paste and a hot-air station. That gave me more control over compact component placement than through-hole alternatives in this locomotive footprint.
The adapter design also includes two capacitors in parallel, used as a power buffer to smooth brief interruptions. I added a small SMD switch so the buffer can be enabled or disabled depending on preference and decoder behavior.
Mechanical fit and light control
One challenge with LED conversions is unwanted light bleed inside the shell. To reduce that, I designed a plastic spacer in Fusion 360 and printed it on my Prusa MK3S. The spacer sits in front of the LED boards and helps isolate the light paths.
That small part made a visible difference in the final lighting quality.
Result
The final result is a much more flexible BR 128 setup, with cleaner light behavior and a tidy internal install.
If you want to build a similar conversion, the design files are available on my GitHub:
Video
If there is interest, I can also publish a follow-up post with decoder function mapping and CV settings used for this build.